Beiträge von kirkdis

    True, but does the PINE64 community have the potential to be a "game changer" according to this definition?

    Was actually anybody able to get its hand on a rockpro64 in Germany or Europe via a commercial shop (not the PINE64 shop!)?

    I can echo @ryecoaaron´s explanation. The nanopi-M4 is one of the best and was the gamechanger more than one year ago. The Nanopi can be purchased at antratek in Germany who are shipping worldwide. But a German shop is not mandatory anymore in 2020. Shipping from other countries on the other side of the globe may only last 5days nowadays... the rpi4 is a gamechanger for the rpi product family but if you look for a reliable setup with real sata support (needs additional sata hat) the nanopi-m4 is the way to go...

    This is an export of my energy consumption in 2020 by today (mid December)


    measured with a precision energy meter the SEM6000 from Voltcraft which has quite good measurements.


    In the first 3 months this year my NanoNAS was not constantly online. Since April it was online and occasionally used for storing data.


    Year Month Consumption(wh)
    2020 1 0
    2020 2 2271
    2020 3 2962
    2020 4 4475
    2020 5 4625
    2020 6 4489
    2020 7 4634
    2020 8 4605
    2020 9 4464
    2020 10 4616
    2020 11 4532
    2020 12 1569


    Hi olduser,


    Zitat

    I'm not trying to step on toes here, but for the top piece, why not recess the button bindings all the way around the bottom and remove the need for supports? Or, print the entire thing as 1 piece and create a rectangular button lid allowing the drives to be entered in a swapping fashion from the side , the finger hole to pull the lid could also be used as intake/outake. You could also replace the button bindings with ribbed bindings, this would allow thicker layer heights with reliable dimensions.


    olduser Thanks for your ideas. Let me explain why the actual design is like that. I don´t really understand what you mean with the button bindings but I assume you mean the holes for the USB and RJ45 ports on the side. Yes, I know that these are quite fragile but if you handle them with care when you merge the upper cover with the board and your print is done perfectly these will not break. I have a fully functional working case here and already teared it down two times without breaking it. These bridges between the ports are needed to prevent false air coming into the case as there is only one fan which transports the intake air through the drives and also cools the mainboard. False air may cause the drives getting too hot.


    Coming to the swapping idea for the drives in the lower case. This came also to my mind when I designed this case but it was more complicated at that time for designing. I will have an eye on it when I find time to redesing the case.


    For the ribbed bindings this could be a solution. Another one came into my mind when I read cgomesu´s manual. For the next design I will design a combination out of a more parts and try to fix the board with screws but let me check what is possible. I will keep you updated when I need some feedback on new designs.


    A one part design is hard to achieve as the cables are short and you have to get them connected somehow to the drives and the board. So the two case design is much better for this and is easier to print. Imaging the lot of support material is needed and the struggle with getting rid of it after the print is finalized. The case is only that compact due to the two separate case housings.


    Zitat

    I think it might be worth mentioning to not print this with PLA. PETG seems like the cheapest and safest material to use to negate future climatic deformation.

    I think you are mixing up things with the materials. PLA is the more environment friendly material out of both which is produced from renewable materials and also is at some point biodegradable. PETG is definetly not biodegradeable and more harmful for our earth and the climate. So prefer PLA over PETG!


    I´m happy for every post and feedback!

    Hi cgomesu,


    first of all thanks a lot for the honest review and sorry for the late reply! I appreciate your feedback a lot as well as your detailed manual how to build this setup. I never had the time to do such a nice manual. I´m sure a lot folks out there used it already and your bonus content with the rtc battery makes total sense.


    Back to your improvements:

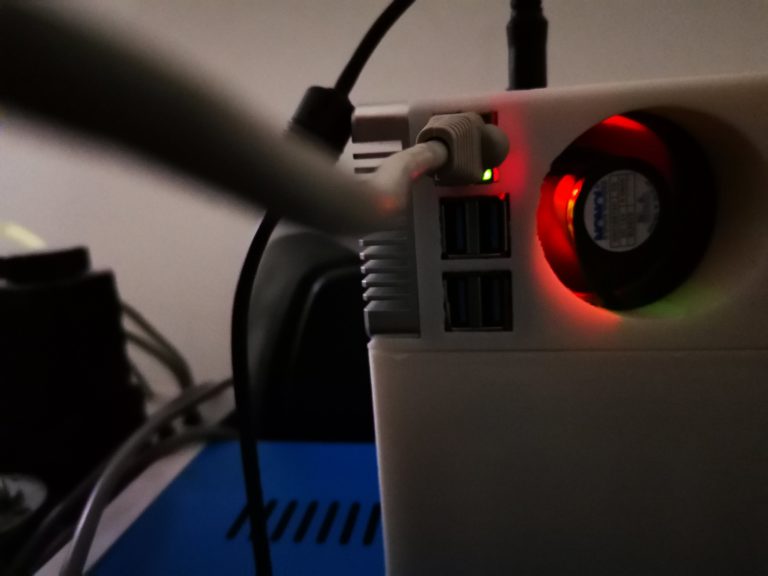
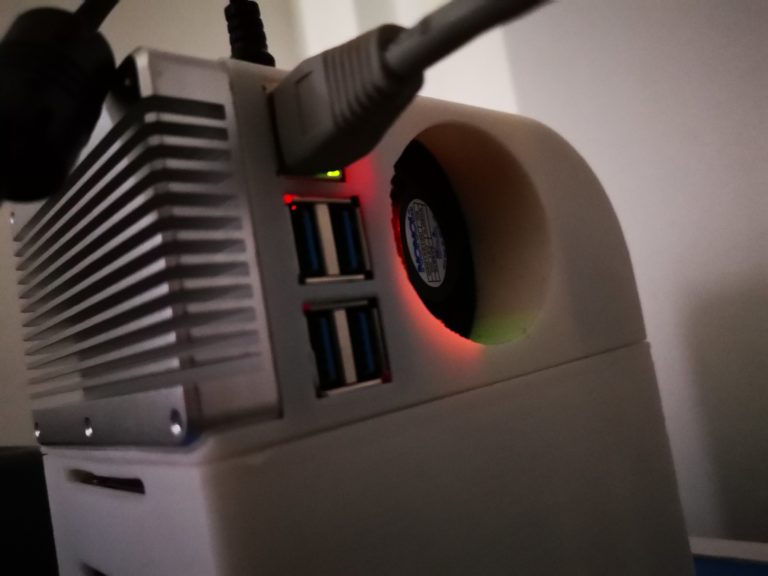
    As the fan on my setup was directly quick and dirty soldered to the pins I needed to design two parts, the fan mount and the upper case. Your review makes me thinking about changing some parts to make it simpler but that needs some more soldering (e.g an additional fan connector) but the biggest issue are the complicated 3D parts for now.


    If you print the upper case you have to add supports. To get rid of these after the print is finished is a pain in the ass but I´ll try to test a few upgraded cases and maybe there is a way to print and get the supports out there easily. We´ll see...


    For the actual case the upper cover has to be that flexible with the actual design as it is a "clamp on mounting" without any screws needed. Yes, I agree this is not the best solution but at the time I designed the case this was the only way which came into my mind preventing false air into the heatflow. I´m sure there are other solutions but to make the upper case more sturdy or thicker is not feasible in this case. I tried it before and these upper cases were not mountable anymore due to stiffness. You need a printer which is well tuned and good experience of the filament used to achieve a perfect upper cover. My second case I printed is still in perfect condition after 2 or three times dismantling.


    I will keep you updated here about progress.


    Thanks again for your great work and efforts to write your blogpost.


    kirkdis

    the lowest consumption for your use case is the baseline... try to get lower and you have the best performance to power ratio.


    in my case I only need a tiny NAS with a lot of space but super low consumption... maybe we can define some KPI´s to get better understanding for the different use cases.

    the rpi doesn´t provide sata ports. So you have to connect your drives via USB. USB is not really a good solution for data transfer but unfortunately works. If you want to use it as a versatile NAS I would choose the nanopi over the RPI. Hope that helps.

    This is awesome, thanks kirkdis!!


    I’d like to try this. Do you think it make sense to go with the M4V2? I’m not sure if the extra money will result in an improvement of the speed.

    Hi Pakcjo,


    Check this link which explains the difference between V1 & V2. In my opinion the LPDDR4 ram of the V2 is faster but I assume that this will not add much to the overall power of the NAS. More relevant will be to compare the 2GB Version to the 4GB Nanopi... If you get a V1 with 4GB much cheaper than the V2 then go with the old one...

    The prototype photos show the fan connected to the big molex connector but I finally soldered both cables on the other side of the board to the connector pins due to the fact I didn´t had this conntector available.


    If you use a 12VDC fan you don´t need resistors all you have to do is connecting it to the pins which are bridged with the power supply input connector. you can easily identify these with a multimeter. Are you from Germany because you use the word Stützstruktur?

    I didn´t solve this issue at my setup. sometimes wifi works sometimes not and this is not due to my router setup. As I don´t have mood at the moment to dive into linux stuff I chose the ethernet connection which works great out of the box... but wifi is the issue so far

    Hi Maginos,


    First of all thanks for your feedback, I appreciate it.

    Here is the blogpost with the shoppinglist for my setup. www.scheisser.net


    For sure you can use SSD´s instead of HDD´s. My HDD´s are quite high due to high capacity at the time I purchased them.

    I recommend to test first if your drives fit properly by downloading the file 10-06discmnt.stl form thingiverse and try to mount at least 2 drives to asure that the drives fit to heightwise. With SSD´s the idle and standby consumption will drop massively. I would be happy if you post some photos of your setup when it´s done.


    best

    kirkdis


    sorry for pushing this topic up again. I´m still suffering with wifi issues. Is there anybody out there who can advise how to troubleshoot? Thanks in advance... as explained after a few hours or so the wifi connection is not available anymore... Would be awesome to use the nas a dedicated storage without wiring a cable network to it.

    have to come back to you again. I got it managed to get wifi work standalone (without RJ45 connected) by editing the /etc/network/interfaces and deleting every network interface there.


    Now I have the issue that after a few hours up to a day the wifi connection breaks, so I have to plug the RJ45 and restart the machine.


    As my linux skills are not the best ;) I´m not sure where to start troubleshooting.